Acrylic DNS Proxy Windows 10 Configuration
In order to use Acrylic you have to tell your computer that the DNS servers to be contacted for name resolution is no more your ISP's but Acrylic. How to do it for Windows 10 is explained in the steps below.
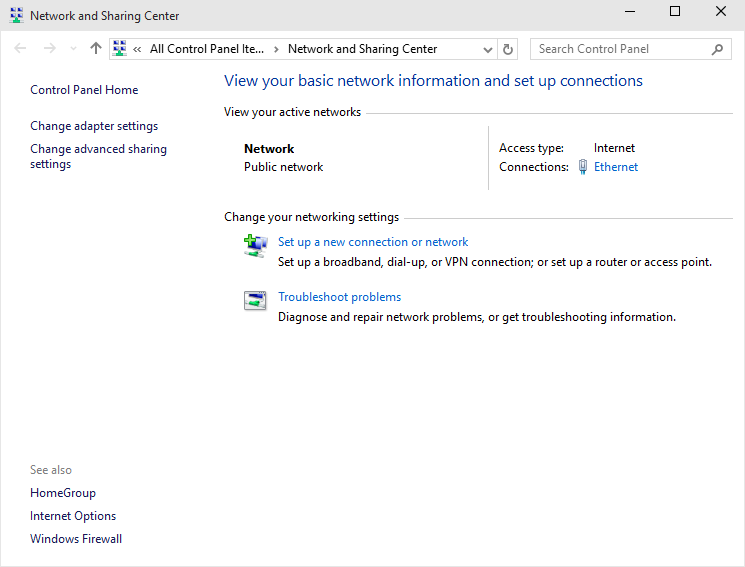
Step 1
Right-click on the Network icon in the System tray and select the Open Network and Sharing Center item.

Step 2
From the Network and Sharing Center click on the Change adapter settings item.
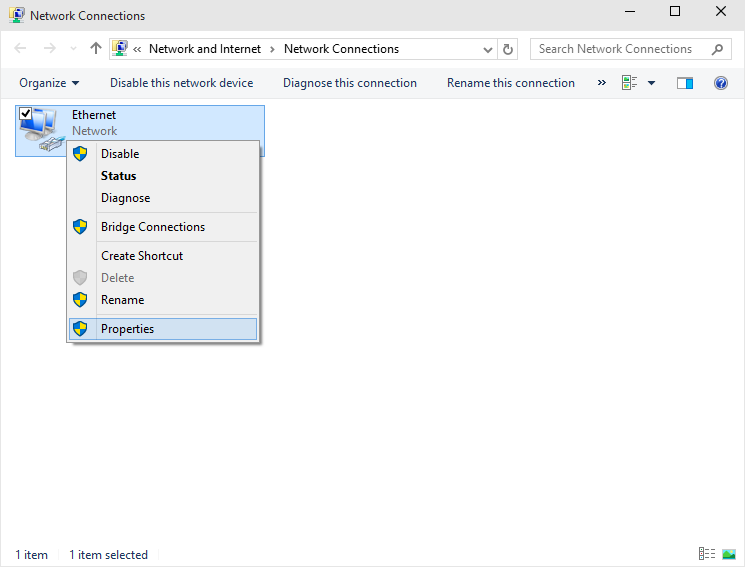
Step 3
Access the properties of your Internet connection (by right-clicking on it and selecting the Properties menu item).
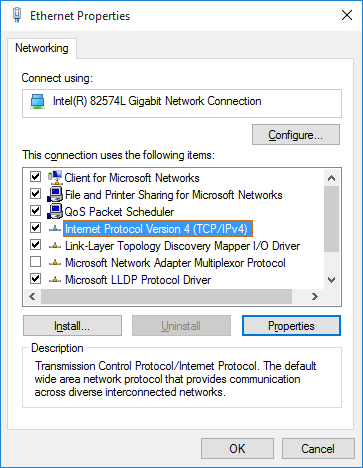
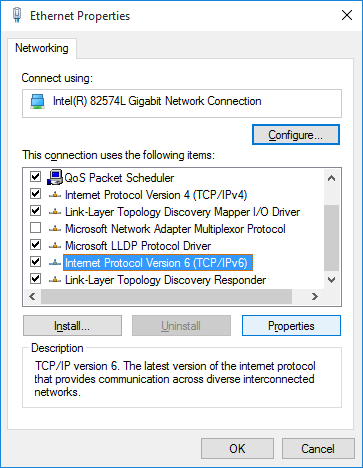
Step 4
In the Networking tab access the properties of the Internet Protocol Version 4 (TCP/IPv4) item by selecting it and clicking on the Properties button.
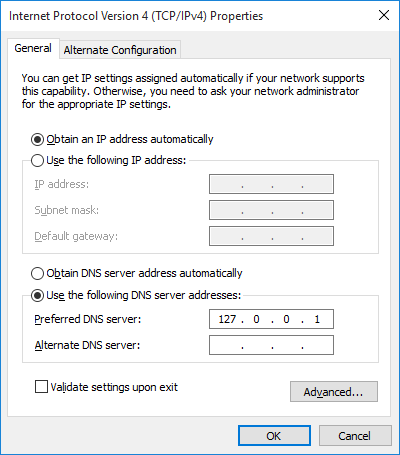
Step 5
Select the Use the following DNS server addresses option and set the value of the Preferred DNS server field to 127.0.0.1. Then click on the OK button.
Step 6
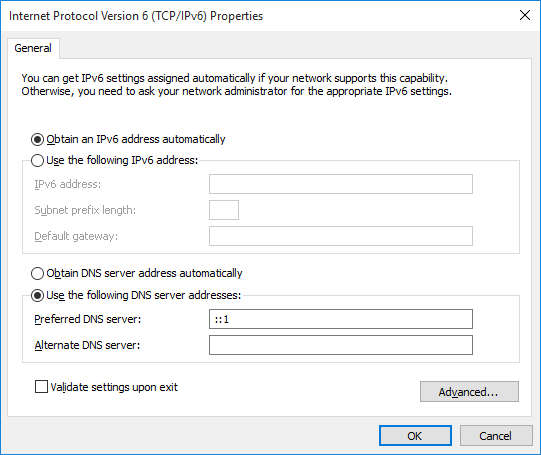
In the Networking tab access the properties of the Internet Protocol Version 6 (TCP/IPv6) item by selecting it and clicking on the Properties button.
Step 7
Select the Use the following DNS server addresses option and set the value of the Preferred DNS server field to ::1. Then click on the OK button.